My first post on this blog, in an attempt to keep non art related things off my art blog.
Sorry it's a long one. Bear with me. :)
The entryway of my home was such an eyesore for so long I just couldn't stand it anymore.
I wish I had a before picture of that entire area so you could see just how bad it was and how far I've come with some very frugal and fun projects. Although in a way I'm very glad you can't see it, but I'll describe the scene so you get the idea. When you walked in the door, directly to your right was a very large and seriously ugly hand me down wrap around couch straight out of the early 90's with ruff blue woven upholstry. Directly to your left behind the door is a slightly cool unique glass front cabinet with shelves full of ugly paper back books (my husbands collection of historical fiction) then there was my great grandmas antique china cabinet which I love but wanted to put in my studio to hold my pretties. On top of that china cabinet was anything and everything that anyone who walked by wanted to deposit on it instead of putting forth the trouble of finding a real home for whatever was in their hand at the time.
In front of you was a glass "vanity" table which you couldn't see anymore because there was so much "stuff" piled on it you couldn't even see the internet router which was there too. Add to that "stuff", half finished laundry, coats, shoes, backpacks, a hidden bowl of potpourri, books, photo albums etc. and you begin to understand my frustration with the whole mess. Mind you the mess didn't make itself, and I am partly to blame, but a household of 5 with no discernible interest in organization doesn't help much either.
I could probably be categorized as a hoarder by some folks, though I have lessened my tendencies a great deal over the last couple of years, and have begun getting rid of things like you wouldn't believe, I also have made rules for my self on buying things for "projects" -if it's not something I'm going to use very soon or have a very specific life enhancing use for it, I don't buy it.
My main problem is that I'm actually very very picky about a lot of things (which you wouldn't know about me to see my house) so if it's not perfect and I can't make it perfect it's very overwhelming to me. Again something I'm working on. I always felt that if I started something it would just get messed up and then what would be the point of trying so leave it as it is (and as it is, was not good).
Lately I've begun to see a light at the end of the tunnel, party because Orkin has helped us beyond measure so that's one less thing to stand in my way.
I've decided that I want the pretty entry way and the white slip covered couch, and lots of beautiful little pretties on the shelf and art on the wall, I want to enjoy the things I love, not stumble all over them and never see them because they are boxed away or lost in some pile. It doesn't matter if the kids spill something on the couch, just bleach it. It doesn't matter if there is a back pack out of place and a coat slung over the couch, oh wait, now we're getting back to where we were...
Enter this project, the Entryway Dilemma, a place to hang our coats to remove them from the couch, table, the back of the chair, and wherever else they might end up.
So I began to plan. I searched high and low online for images and inspiration to "Pin" to my Pinterest Board
"Entry Way"
I started keeping my eye out for elements that I could incorporate into my own entry way and designing my space around those.
The first thing we needed was a coat rack, with this I learned if you build it, they will clean.
So my entry has started with finished projects first then a cleared and cleaned space to put them. If I was to clean and clear first, it would just get filled right back up before I even had a chance to start my project. Been there, done that, not going back. :)
My almost finished coat rack (I still want to put Est. 1995 above the picture frames)
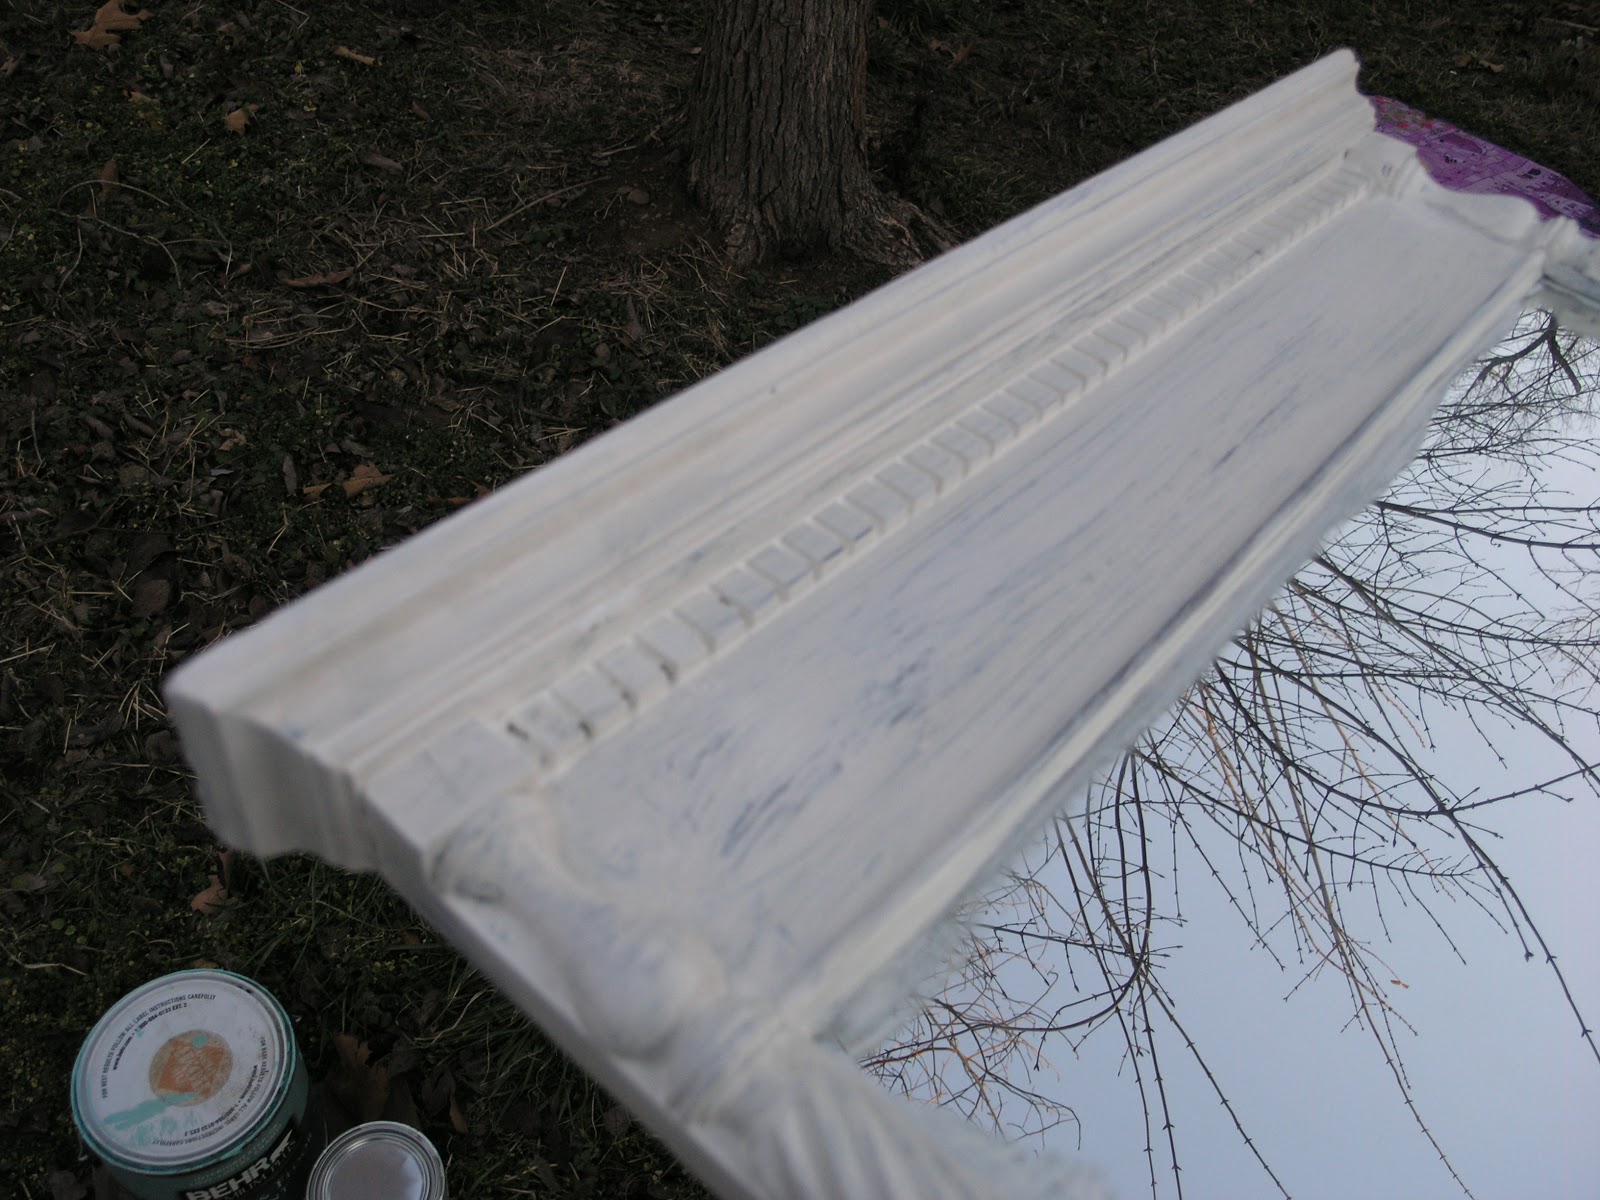
I started with a very large antique frame I found at a flea market for $5
It was ugly, chipped, dusty, and not too sturdy. It was generally the kind of thing the gal at the flea market couldn't believe she actually sold. Ha! But it had some wonderful designs, chipped as they were, I loved the top with it's scrolls and the flower work at the corners. A couple coats of paint then a brown wax treatment really made the whole thing look great.
I cut a piece of used real estate sign (slated for a burn pile) to fit inside the frame and collaged some antique music sheets to it using some artists gel medium. I then used wood glue and fine nails to attach it to the painted frame which made it very sturdy again. (when I hung this on the wall it was by the wood of the sign, not by the old frame itself, since it was going to have a lot of weight hanging on it. I screwed it directly to the wall studs)
I found some old mix and match picture frames from the thrift store for 50 cents a piece and brought them home, added a coat of paint and the same wax treatment as the large frame, then hung one for each member of our family.
The door knobs I have been collecting for a while with the intention of using them as a coat rack, I just didn't realize it would turn out this cool.
I bought some all thread at Lowe's as well as some mounting hardware. I cut the all thread down to size to fit the door knobs and used epoxy to glue them inside. I drilled holes in the wood, attached the hardware through the back and screwed in the knobs. I then hung it on the wall.
Now we each have our own place to put our coats, backpacks etc. No more excuses to leave them laying everywhere. So far it has worked like a charm.
A little less clutter, a little less chaos, one project at a time.